Tech Behind the Blog
~10 min read
Jump to end ↓
The technology behind this blog. An excuse to go through a fully self-hosted webstack.
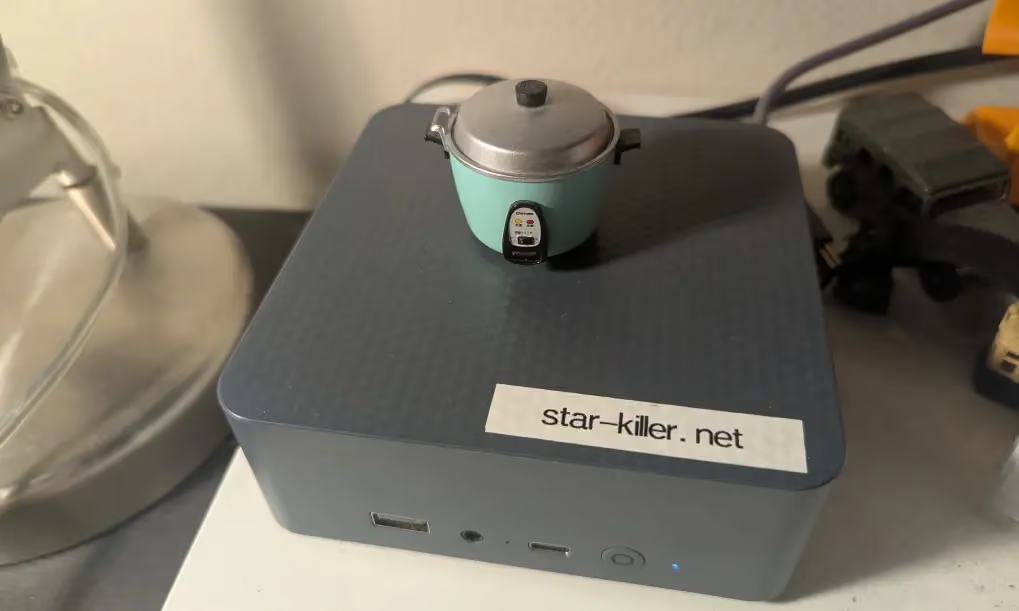
From sleek to clever, a Beelink EQR6, running proudly ArchLinux, with a Tatung rice cooker for scale. It is a fantastic machine for less than 300 bucks.
Infrastructure
Let’s start with programmer art, rendered with Goat and generated by Google Gemini (I am lazy for ASCII).
1. Git Push
The website is mostly files that are pushed through Git from a machine to my server.
2. Gitea
I push this to a self-host Gitea instance. It is very close to GitHub without giving your data to Microsoft. Gitea has a CI/CD compatible with GitHub Actions. The script is so simple:
name: hugo_publish
on: [push]

jobs:
  sync:
    runs-on: linux_amd64
    steps:
      - name: all
        run: |
          git pull
          hugo
        working-directory: ${{ vars.DEPLOY_DEPOT_PATH }}
This is executed on a git push. There are 2 git depots here:
- The main depot, hosted by Gitea, is a bare depot. There is no file in it, only git metadata.
- The second depot is in a web accessible directory, elsewhere on the server (here it is local but could be distant). This second depot execute a git pull from the Action. Then finaly, when this depot is synchronized, we use Hugo to regenerate the website.
We could have done it differently. We could have used a normal depot instead of a bare depot, and just copy the files in the web directory after a push. I do love deploying my code using git so it is a little bias of mine.
3. Nginx
Nginx is configured to serve everything over HTTP/1, HTTP/2 and HTTP/3. Sadly Cloudflare does not support proxied traffic over HTTP/3 (yet) so it is a bit moot but we love living on the edge (nearly a PUN as only Chrome really use HTTP/3).
server {
  server_name www.deckard.fr;

  location / {
    root   /home/www/ricklesauceur-blog.git/public/;
    index  index.html index.htm;

    add_header Alt-Svc 'h3=":443"; ma=86400';

  listen 443 quic reuseport;
  listen 443 ssl; # managed by Certbot

  http2 on;
}
Run certbot from Let’s Encrypt on this and you will get HTTPS with all version of HTTP.
4. Cloudflare
We run Cloudflare as a front and DNS for our server. Cloudflare is not really a CDN. They act more as a proxy or reverse proxy. They will put themselves between your customer and you. In my case, I use them because:
- It is free for a small fish like me.
- Because they are a proxy, they hide my public IP to the world. This is quite important as I am self-hosting everything.
I know you want to ask:
And I will tell you that it would be smarter, my website would be faster and my home internet would be certainly safer. But for now, I like tinkering with my Nginx and I have the hope that one day, the CPU of this little box will start sweating a bit. On top, the website being completely static, I could just flip a setting on Cloudflare side and no traffic would hit my box (everything can be cached).
Content
I did not explain anything about static site generator yet. For a blog, I do not want a CMS like Wordpress. I do not need a web interface and graphic tools to publish content. Everything here, once written will not change. It can be contained in a simple html file. Therefor, it uses no CPU or memory, and if I want to change my hosting (like moving to Amazon S3) it is as simple as copying file. People running Wordpress or other dynamic sites spend a lot of time in caching strategies and infrastructure to solve those performance and cost issues. We do not need any of that here. Everytime you add a new piece of software or infrastructure, you create a problem for yourself, maybe not now but definitely in the future because software in general degrades in time. It is a topic maybe for another blog, particularly in the Linux world.
Hugo
Hugo is not a novel concept. There are plenty of software doing the same. This one is just written in Go which has the advantage to run pretty easily anywhere. Not a lot of dependencies to manage, it is pretty similar to running an exe. You can compare this to Jekyll for example, which suffer from the Ruby dependency management. It is not bad software though, it is what powers Github Pages. Go software in general is pretty easy to operate (Gitea is also written in Go).
To schematize, Hugo will pair content, expressed as Markdown, and run a powerful templating system on it. You get html, but also post-process image, css, javascript as output. You can serve directly those through Nginx. The source code of every posts is on gitea. Simple, you define some meta-data (title, front-cover), and then the content.
+++
date = '2025-08-12T19:58:53-07:00'
draft = false
title = 'North & South & Infogrames'
description = "North & South and how I started my career"
images = ["northandsouth.avif"]
toc = true
+++
This is the header describing the metadata of the first post ever published on this site. You see a date, some blurbs, some images and if it needs to display a table of contents. It makes the configuration data-driven. You can also tell if you want comments or not. Then, you write some Markdown.
Markdown
A little example of Markdown. I write this in Neovim but any text editor will do.

## The Game
The setting is inspired by the **American Civil War**.
But those cartoon characters, on the front picture,
are from the bestselling French Cartoon
[**The Bluecoats**](https://en.wikipedia.org/wiki/Les_Tuniques_Bleues).
In order:
- Insertion of an image
- A title
- Some text with a link
You can check the result there.
Template
A template is just a skeleton of HTML where Hugo is going to insert your content formatted by Markdown (an image will generate img tags for example). I will spare you the syntax. It is where you insert your html, css and javascript too.
For this blog, I did everything from scratch. It kind of reconciliated me with CSS! Everything is more or less compliant now and you even have variables! Very easy to implement a light / dark theme purely in CSS.
I barely use any javascript, only for the top/right toggle button and the comment section.
Comments
I got inspired by this blog post. The author lays-out all the reasoning behind her choice and it is very good. In short, this blog comment section is powered by Bluesky.
It is a killer idea for multiple reasons:
- I do not have to use a 3rd party service (like Disqus)
- I do not need a database, I can keep my static site
- Bluesky is kinda cool, and will manage the moderation on their platform (no need to run Askimet for example)
Their is little technical departure from her approach. She uses Astro. It is a hot and cool piece of tech that uses a lot of server side rendering. It means the page is rendered on the server and the client does not do much work.
You need to use APIs to speak with Bluesky to fetch those comments which are in reality just threads. Bluesky is famous for having developed their own protocol nicknamed AT Protocol. In short, every platforms try to push their protocols which are a way to interact with user generated content. What’s different here is the open nature of it. You can have federations, and to the opposite of Twitter for example or any proprietary platform, you can host your data yourself and still interact with others (like Matrix or Mastodon, they use other protocols of course). I align with this mindset, it does not hurt my values, as you may have guessed, I like owning my data.
In this case, I cannot use, like the author, the AT Protocol because it requires authentication. It is fine in the backend, but not in the frontend (because everyone could get the credentials). A simple piece of javascript will do the trick, their public HTTP APIs are also very good. Most of the code comes from there. It is simple. I am still not satisfied with my css for nested comments, and I have not tried to display remote resources (you can put links and images in a bluesky post). The approach works very well.
Conclusion
It is a very fun endeavour. I always wanted a space to write a little blurb and random thoughts. I also learnt Neovim and all the quoted piece of technology in this blog post. As everything is handcrafted, everytime I want to add a new content type, you can be sure I will have to jump to CSS. For example, when I added the ASCII diagram of the infrastructure at the beginning, I add to setup a monospace font, the size, the spacing and everything related to it.
It never works out of the box but it is also part of the pleasure. It is yours to customize.
I am hungry for more articles, so stay tuned and stay classy.